Here is the final product:

 SUPPLIES:
1 fat quarter of outside fabric*
1 fat quarter for inside lining*
1 fat quarter for inside pocket and pocket lining*
decor bond (or heavy interfacing)
nylon zipper (at least 12")
basic sewing supplies
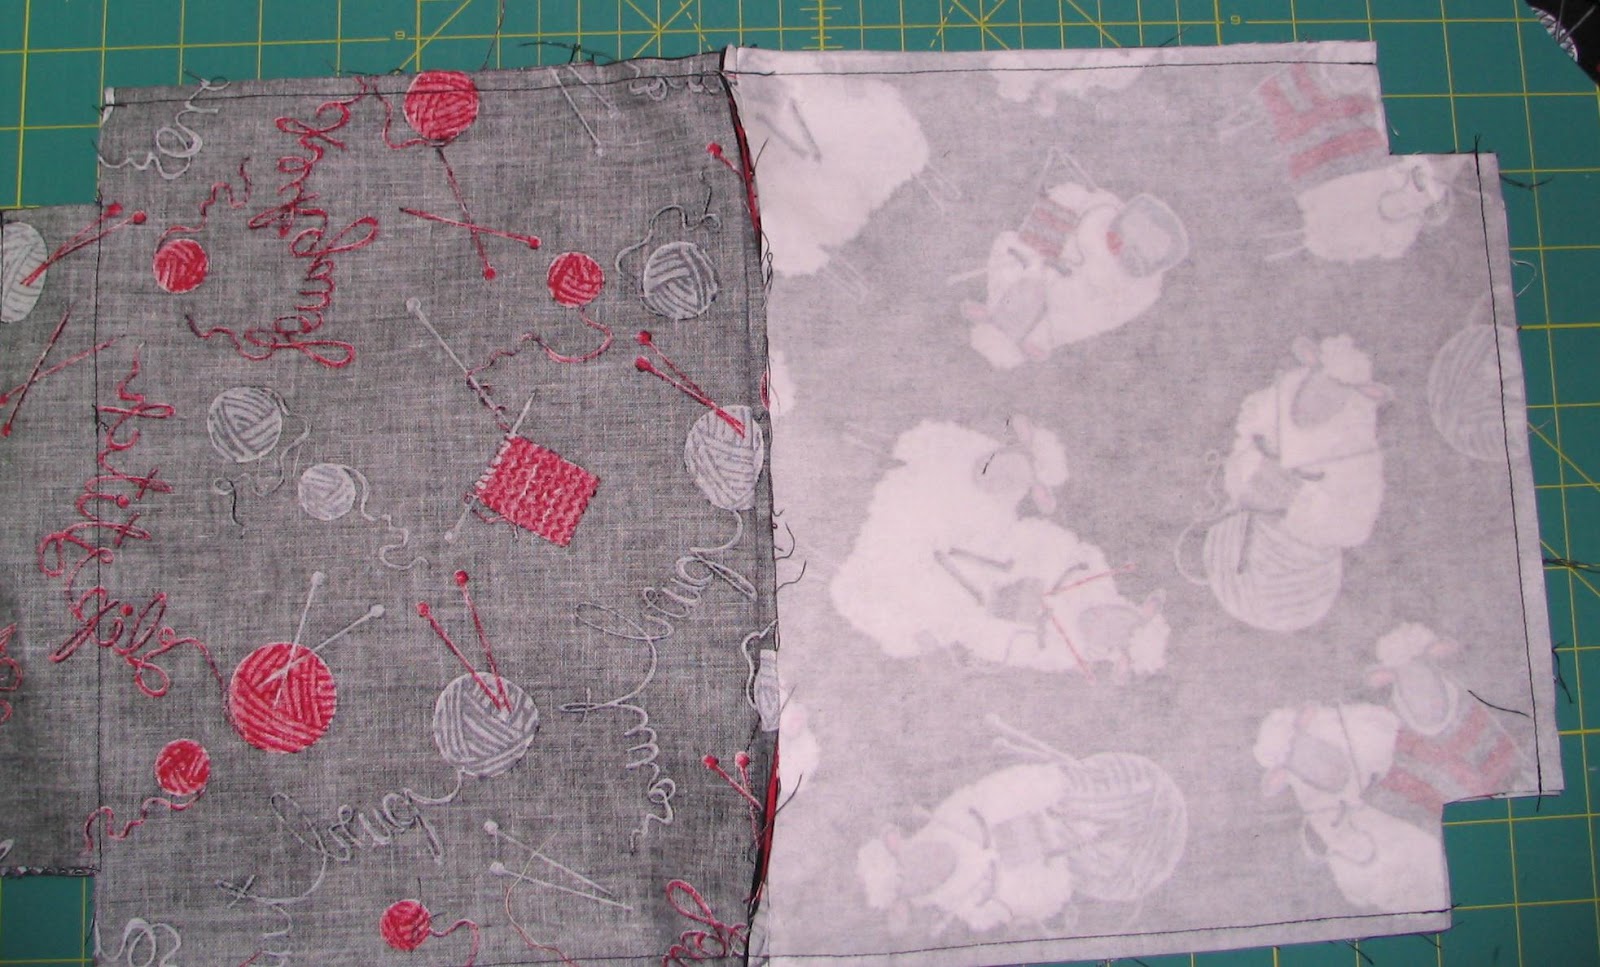
*I had 3 coordinating 1/2 yard cuts for the bag in my tutorial. You need enough fabric to cut out the pieces. This is a great project to use up largish scraps. If you want to use 1/2 yard cuts, feel free, but you will have some fabric left over. If you DO NOT use 1/2 yard cuts, the pocket outside and lining will be from the same fabric. I like to have the coordinating tones. Look at the pictures below to see what I mean.
CUTTING INSTRUCTIONS:
For the bag:
from outside fabric: cut two 10" x 11" pieces (if you're using a directional fabric the long side will be the top an bottom of the bag.)
cut a 1" strip that is at least 6" long (for zipper)
from lining fabric: cut two 10" x 11" pieces
from decor bond: cut two 9 3/4" x 11" pieces
For the Pocket:
from fat quarter or lining fabric: cut one 9 3/4" x 11" piece (outside of pocket)
from pocket lining fabric: cut one 8 1/2" x 11" piece (inside of pocket/coordinating edge)
cut on 2 1/2" x 12" strip (for optional wrist strap)
Last bit of cutting before the sewing begins! From the outside, lining, and decor bond pieces, measure and cut out a 1 1/2 squares from the bottom corners. I measure, mark, and then use scissors to cut these out, not the rotary cutter.


Here's all three sets with corners cut out. I keep the two layers together and just mark the top layer. This is pretty easy with the fabric. The decor bond can be a bit slippery.
LET'S SEW! (use 1/4" seams)
Step 1: Prepare your zipper.
Measure and mark on the zipper 0" and 9 1/2" inches. If you use a longer zipper you don't have to be near the little metal end that can get in the way. You should have something that looks like this:


Here's both pieces pinned in place. Note that the nonpinned side of the strip sticks into the middle of your zipper, not the other way around.

Fold them back so you can see the right side of the fabric.
Top stitch in place.
Trim the ends of the zipper.so it is even with the seam. This will reduce the amount of bulk you'll be sewing later. Somehow, I missed taking pictures of this step.
Set zipper aside
Step 2: Make a pocket.


Iron open.


Top stitch along the upper edge.

Cut out 1 1/2" squares from the bottom corners like you did before.

If you'd like to have pockets on both sides of the bag, feel free to repeat the process to make a second pocket for the other side.

I hate it when items slip down into the bottom of the bag. To prevent this, I measure from corner to corner from the squares I cut out previously. I mark this line and then top stitch in place. This also helps hold the pocket and lining together.
Hint: I would baste along the edges of the pocket as well. Then they will be held in place while you complete the rest of the sewing on the bag. I just used pins, but I wish I had taken the time to baste them.
Step 3: Time to put in the zipper!
Mark the middles of the zipper, lining and outside fabric of the bag. I just use pins.

Layer the pieces of your bag: lining, zipper, outiside. The WRONG side of the zipper will be against the lining of the bag, while the right side of the zipper will face the right side of the outside fabric.

Repeat for the other side.
Hint: If you have the option of using a needle-down on your machine, use it! Zippers are fiddly. I sew part of the zipper and then I unzip/rezip the zipper as needed to get it out of the way of my needle and then finish sewing the zipper.


When you've completed your zipper seams, it opens up to look like something like this. You can see how the outside fabric has the right side of the zipper. The little zipper fabric strips are sticking off and it's almost time to trim them.
Here is the reverse side with the pocket and the wrong side of the zipper.

Iron the zipper seams open. Take some time to do this. Make sure the fabric is far enough away from the zipper that it opens and closes freely.
A good trick is to line up the corners that you cout out previously.

The decor bond is going to be ironed against the WRONG side of the outside fabric. Try to line up the corners that have been cut out.
I lay just one side flat on my ironing board, with the three other pieces sticking off the back. I take the decor bond and slide it up snug to the zipper seam. The decor bond sits under that seam allowance.

Repeat on the other side.
Now, place the layers back in place so that you can see the zipper.

Step 4: Make a strap. This is optional. If you don't wan the strap, just skip to the next step.


Step 5: Time to sew the bag together! Let the fun begin!

You're going to pin the lining pieces together and the outside pieces together.
HINT: make sure you leave the zipper at least half way open. If you don't, you won't be able to turn your bag right side out!


Step 6: Create the bottom of your bag.

Using 1/4" seams sew along all four corners.

Step 7: Turn the bag right side out through the opening in the bottom of the lining.

Use your fingers to push out the corners of the bag.
Open up the zipper all the way and push the edges of it out as well.


Thought: you could create multiple pockets by adding some top stitching on the pocket.
Step 9: Enjoy your new hexipuff bag!

Please use this tutorial for personal use only.
No comments:
Post a Comment